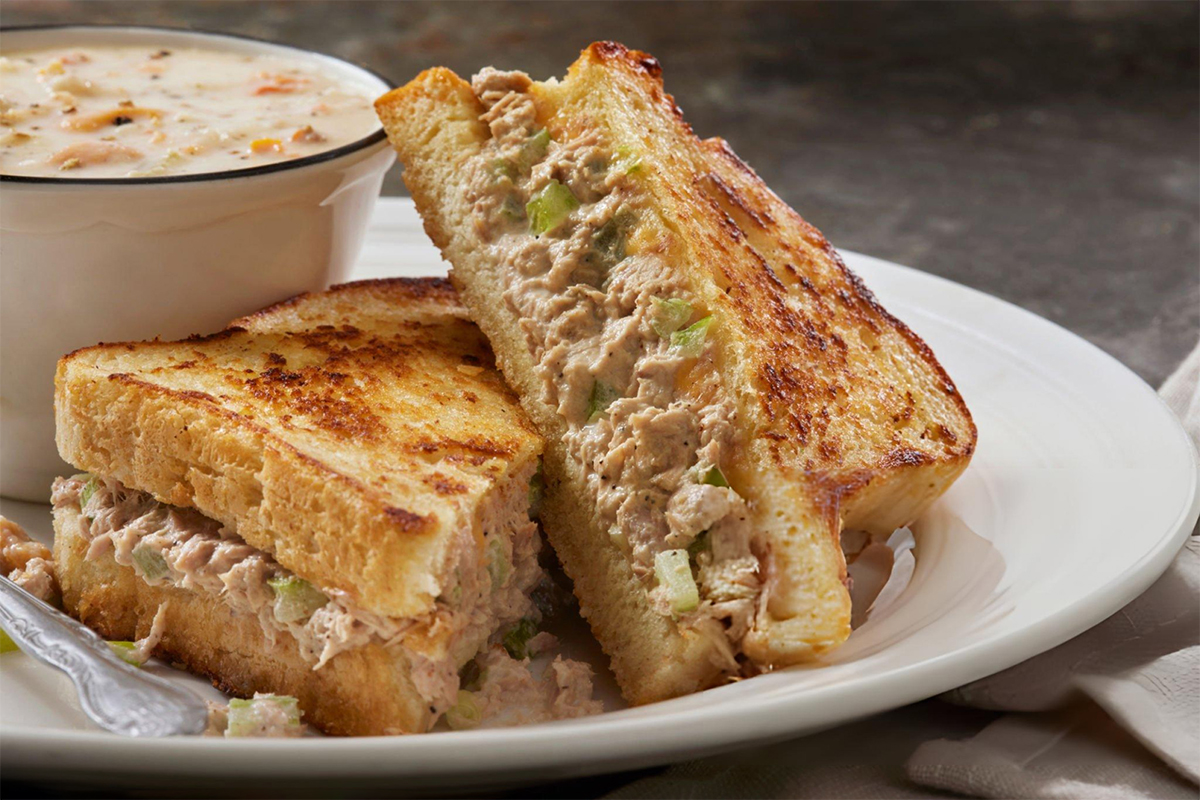
There’s a reason tuna melts have been a diner staple for decades. The combination of creamy tuna salad, melted cheese, and golden grilled bread hits all the right notes. This version takes the standard recipe up a notch with fresh celery for crunch and a touch of Dijon mustard for depth.
Why This Tuna Melt Recipe Stands Out
The secret to an exceptional tuna melt lies in the details. First, we drain the tuna thoroughly to prevent soggy sandwiches. The addition of finely diced celery provides texture that keeps each bite interesting. While many recipes stop at mayo and tuna, we add Dijon mustard, lemon juice, and a hint of garlic and onion powder to create a more complex flavor profile.
The grilling technique matters too. Starting with a cold skillet and medium-low heat ensures the cheese melts perfectly while the bread develops that golden crust we’re after. Rush the process with high heat, and you’ll end up with burnt bread and cold cheese.
Building the Perfect Tuna Salad
Good tuna salad starts with quality canned tuna. We prefer tuna in water rather than oil for this recipe since we’re adding our own fats through mayonnaise and butter. Drain it well and flake it thoroughly with a fork to ensure even distribution of all the mix-ins.
The celery should be diced small enough to distribute evenly but large enough to provide a satisfying crunch. About 1/4-inch dice works perfectly. Fresh celery makes a noticeable difference here. So, skip the limp stalks hiding in the back of your crisper drawer.
The Cheese Question
While cheddar is our go-to for its sharp flavor and excellent melting properties, Swiss cheese runs a close second. The slightly nutty flavor of Swiss pairs beautifully with tuna. Some diners use American cheese for its superior meltability, and there’s nothing wrong with that choice either. The key is using enough cheese to create that satisfying cheese pull when you bite into the sandwich.
Grilling for Success
The biggest mistake people make with grilled sandwiches is using heat that’s too high. Medium-low is your friend here. It gives the cheese time to melt while the bread slowly develops that perfect golden crust. Buttering the outside of the bread rather than the pan ensures even coverage and better browning.
Don’t press down on the sandwich while it cooks. Let it do its thing. The weight of the sandwich itself is enough to ensure good contact with the pan. Pressing just squeezes out the filling and compresses the bread.
Variations Worth Trying
Once you’ve mastered the basic recipe, there are plenty of ways to customize your tuna melt. A thin slice of tomato adds freshness and acidity. Capers bring a briny punch that pairs well with the tuna. For heat lovers, a few slices of pickled jalapeños work wonders.
Some people swear by adding a thin layer of cream cheese to the bread before adding the tuna mixture. It creates an extra creamy texture and helps prevent the bread from getting soggy. Others like to mix in a tablespoon of pickle relish for that deli-style tang.
Serving Suggestions
A tuna melt is substantial enough to stand alone, but it also pairs well with simple sides. Crispy potato chips are the obvious choice, but a small green salad with a bright vinaigrette provides a nice contrast to the rich sandwich. Pickle spears on the side are practically mandatory.
For the best eating experience, let the sandwich rest for about a minute after grilling. This allows the cheese to set slightly, making it easier to handle. Cut on the diagonal for that diner-style presentation and optimal cheese stretch.
Make-Ahead Tips
While tuna melts are best assembled and grilled fresh, you can prepare the tuna salad up to two days in advance. Store it in an airtight container in the refrigerator. Give it a good stir before using, as it may separate slightly. Having pre-made tuna salad on hand makes these sandwiches a quick weeknight dinner option.
Other Recipes To Try
Love this tuna melt? You’ll definitely want to try these other delicious recipes:
- Cranberry Almond Chicken Salad – Another fantastic sandwich filling
- Easy Crockpot Corn Chowder – Perfect soup to pair with your sandwich
- Mom’s Comfort Food Tuna Casserole – Another delicious way to enjoy tuna
- Keto Chicken Salad Lettuce Wraps – Skip the bread for a low-carb option
A well-made tuna melt proves that simple ingredients can create something special when handled properly. It’s the kind of sandwich that works equally well for a quick lunch or a satisfying dinner. Master this recipe, and you’ll have a reliable go-to that never disappoints. Whether you stick to the basic version or experiment with your own additions, this tuna melt delivers on flavor, texture, and satisfaction every single time.
Tuna Melt Sandwich
Notes
- Cheddar gives a classic flavor, but Swiss or provolone work well too.
- For extra crunch, add diced pickles or red onion.
- Try it on rye or whole-grain bread for variation.