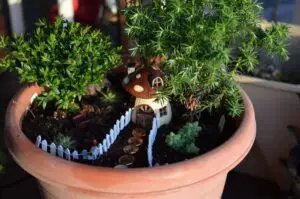
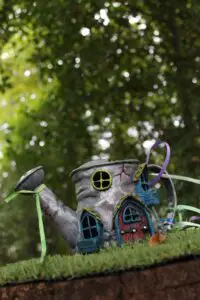
Fairy houses are a favorite of Sisters Know Best! Whether you believe in fairies or not, fairy houses are a cute mini-project that add a touch of whimsy to every home or garden. There are many different ways to make a fairy house, but we like to use the bounty of nature to make ours. Living in the woods, it’s easy to collect twigs, moss, stones, bark, and other items to construct a completely natural fairy house. It’s a fun DIY project that younger kids can help with and older children will enjoy doing on their own. Adults love it too!
Steps for Making Fairy Houses:
We started with the ideas on WikiHow and added our own special touches to come up with the method to make a fairy house from items found in nature in true Sisters Know Best style.
Step – 1 Design
If you’ve ever been to a fairy walk, you know fairy houses can be short or tall, fat or skinny. They can be simple like a cottage or more ornate like a castle. Before collecting anything in the woods, decide what style you want your fairy house to be. Spend a few minutes sketching it out. Having a picture to work from is always helpful!
Step 2- The Sketch
When you’re sketching out your fairy house design, think about where you want windows and at least one door to be. Also consider items such as chimneys, pathways, stairs, etc. Be careful not to get too carried away! Whatever you design needs to be physically possible from items you’ll find in the woods!
Step 3 – Decide on the Material for the Frame
Moss, twigs, bark, etc. will be the outside of your fairy house, but it needs something to attach to. Think of it as just like the siding of your house is attached to a frame. To make the frame for your fairy house, you can use cardboard, popsicle sticks, wood, or twigs. Whatever you decide should be sturdy enough to support whatever items you’ll add to the outside. Also keep in mind that cardboard won’t be as durable as wood.
Step 4 – Gather Materials
This is fun! Go for a nature walk and look for acorns, dried grass, moss, twigs, pebbles, branches, bark, pine needles, etc. to create the outside of your fairy house. Pro tip: make sure the items you collect are dry so the glue sticks and dries properly!
Step 5 – Make a Base
If you’re planning to put your fairy house outside, you may decide to skip this step. But if it’s going to be an indoor fairy house, a base might be helpful. You can use a piece of scrap wood or cardboard to create the base. Decorate it to look like the woods or a garden using moss, twigs, pebbles, etc.
Step 6 – Build the Frame
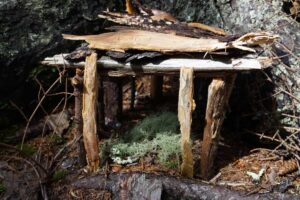
Using hot glue, build the frame of the fairy house from the materials you chose earlier. Try to keep it as straight and level as possible to make it easier to decorate later. If using twigs or popsicle sticks, you can stack them like Lincoln logs and glue the ends together. Be sure to leave or cut openings for doors and windows. You can also create a frame using old boards and nails. Watch little fingers when hammering!!
Step 6 – Decorating the Fairy House
Start with the inside. Cover the floor of your fairy house with dirt, sand, or pine needles. Make a hammock from ferns and use bark and small twigs to make furniture. Add acorn top bowls or use dried leaves to make wall paper. Fabric scraps also make great curtain for your fairy house.
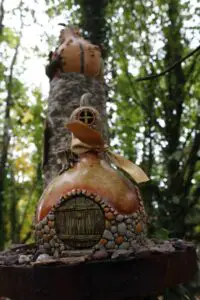
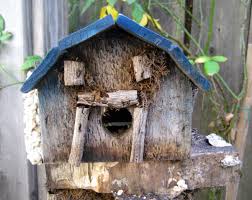
Once the inside of the house is perfect for fairy living, move on to the outside. Use the items you collected on your nature walk to create siding, pathways, chimneys, and landscaping. Birch bark and moss look great as roof and walls. To get even more inspiration, we recommend this fascinating book. And this book shows you how to make intricate fairy furniture.
Depending on the ages of the fairy contractors, you may decide to build a fairy village. We’re thinking that would be pretty awesome. Let your imagination go wild! If you want more ideas for crafts with nature, check out our post here. And as always, share your photos with us!






2 thoughts on “Fairy Houses – How To Create Them WITH Nature”
Pingback: Get Crafty with Nature - Sisters Know Best
Pingback: Summer Crafts for Adults | DIY Projects for Grown Ups
Comments are closed.