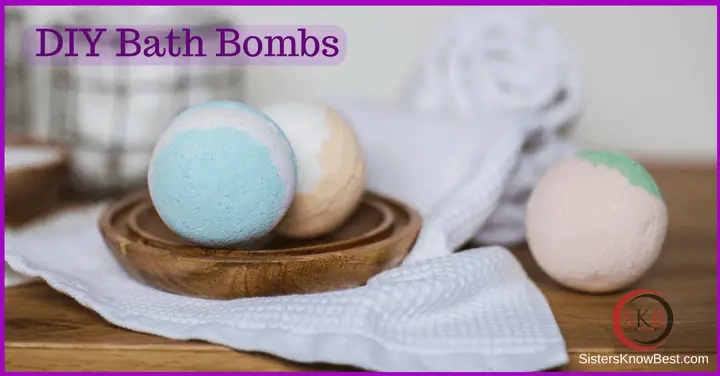
There’s nothing quite like a relaxing soak in the tub. A DIY Bath Bomb will make it even better! A bath is a great way to unwind after a stressful day or steal a few moments of alone time to read, meditate, or focus on your goals without interruption. DIY Bath Bombs add to the pleasure of an already relaxing moment with scents and colors you choose to enhance the experience and leave you relaxed or invigorated. Buying them can be expensive. So we found out how to make our own. DIY bath bombs also make a great stocking stuffer at Christmas or part of a larger “pamper yourself” gift basket any time year.
 How to Make a DIY Bath Bomb
We started with Wellness Mama’s fabulous all-natural bath bombs and then customized them. They take just minutes to make once all the ingredients are measured. DIY bath bombs work because of science. And wouldn’t they have been a lot more fun to make in chemistry class than some of the other lab stuff we remember doing back then? Because they’re a chemical reaction, it’s important to measure the ingredients precisely.
DIY Bath Bomb Ingredients:
- Baking soda – this is a key component to making the fizz!
- Citric acid – you may not have this hanging around in your kitchen cabinets, but it’s easily purchased online. It’s also the second key to the fizziness.
- Cornstarch– that silky feel you get when you slip into a tub that’s been bath bombed? That’s because of cornstarch. You can use arrowroot in a pinch, but it won’t have that same great smooth feel.
- Oil – Whatever you have on hand is fine. At SKB, we’re big fans of coconut oil, but almond or argan oil are also popular options.
- Salt – Table salt is fine, but you can kick it up a notch with Epsom salts which are already great for soaking and soothing sore muscles.
- Liquid – Water is fine, but if you’re into Witch Hazel or other skin soothing liquids (that are not oil based) go with that.
DIY Bath Bomb Scents and Colors:
Seriously, the possibilities here are ENDLESS! We really like lavender for a relaxing bath. Play around with your favorite essential oils to create the perfect scent for your bath. Or make them scent free for those with allergies or other sensitivities.
Optional Equipment:
Measuring cups and your hands are all you need to make DIY bath bombs, but if you’re a perfectionist or giving them as a gift, consider purchasing a digital scale to get the most exact measurements. Grabbing some fun molds to create special shapes is another super idea.
DIY Bath Bomb Instructions
- 8 ounces (approx. 1 cup) baking soda
- ½ cup citric acid
- 4 ounces salt of your choice
- 4 ounces cornstarch
- 2 tbsp of the oil of your choice
- 2 tsp liquid (water, witch hazel, etc.)
- 1 tsp additional water or vanilla extract
- 30-40 drops scent
- Combine all the dry ingredients in a bowl and mix well
- In a separate bowl, combine and blend the liquid ingredients
- Slowly, a few drops at a time, add the liquid ingredients to the dry ones
- The mixture should hold together without squeezing or crumbling. If it doesn’t, use a spray bottle to slowly add more water until the right consistency is achieved.
- Mold your bath bombs in pre-formed molds or create balls with your hands and leave to sit until hardened (24 – 48 hours)
- Once dry, remove bath bombs from molds and store in airtight container or Ziploc bag. They’re most effective if used within two weeks.
Pro Tips for DIY Bath Bomb:
Pro tip: As they dry, bath bombs will expand, so push them down into the mold several times during the process.
Another pro tip: Use metal molds to create a stronger bath bomb.
We suggest keeping some bath bombs on hand to ensure you can slip into a relaxing tub any time you need to.


1 thought on “DIY Bath Bombs”
Pingback: February's Soap of the Month by Sisters Know Best
Comments are closed.